GPT Image 2
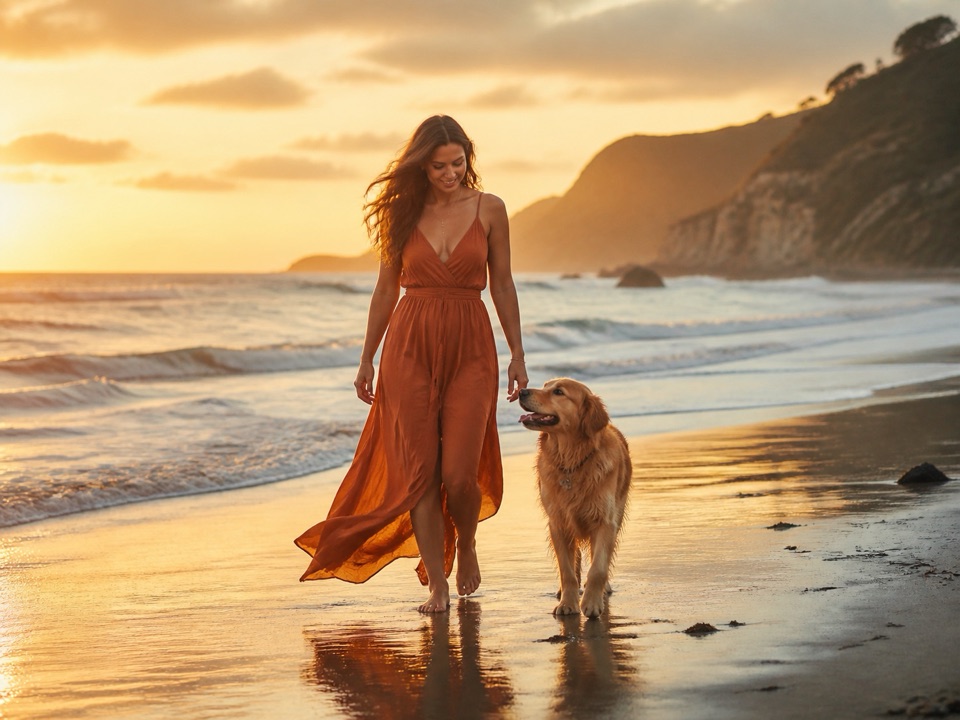
Result 1
Free conversational AI image generator
Chat to image in plain language: describe a picture, upload references, compare multiple AI models, and refine the result through follow-up messages.
Describe an image and AI will generate it. Upload a photo to edit it. Keep chatting to refine the result.
Multi-model image generation
Stop switching models and repeating the same request. Run selected models together, watch each result arrive, and continue editing with the version you prefer.
Result 1
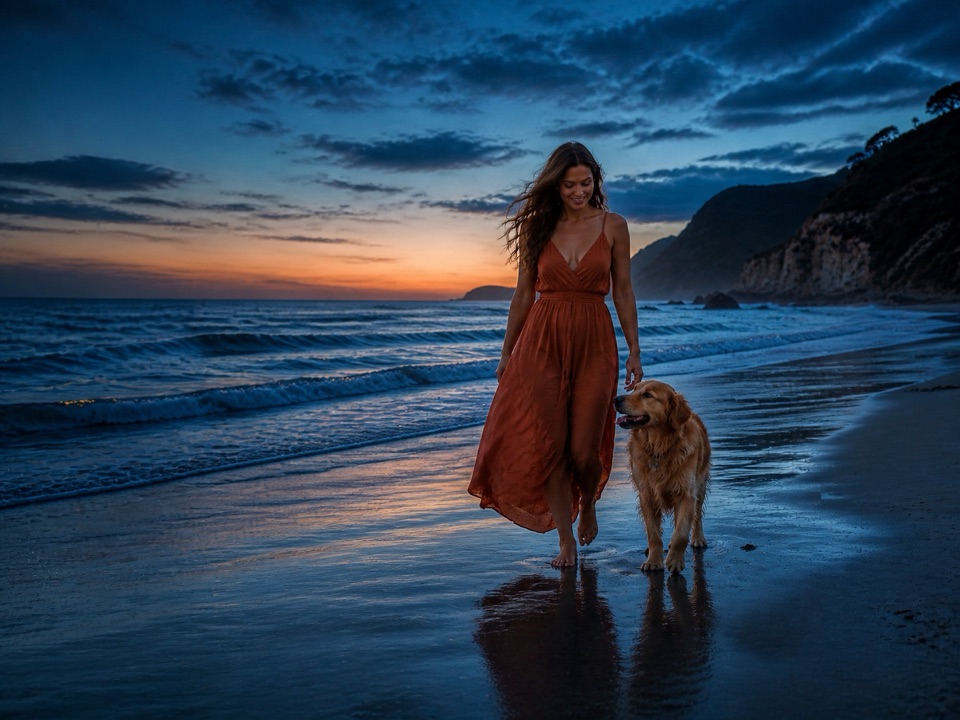
Result 2
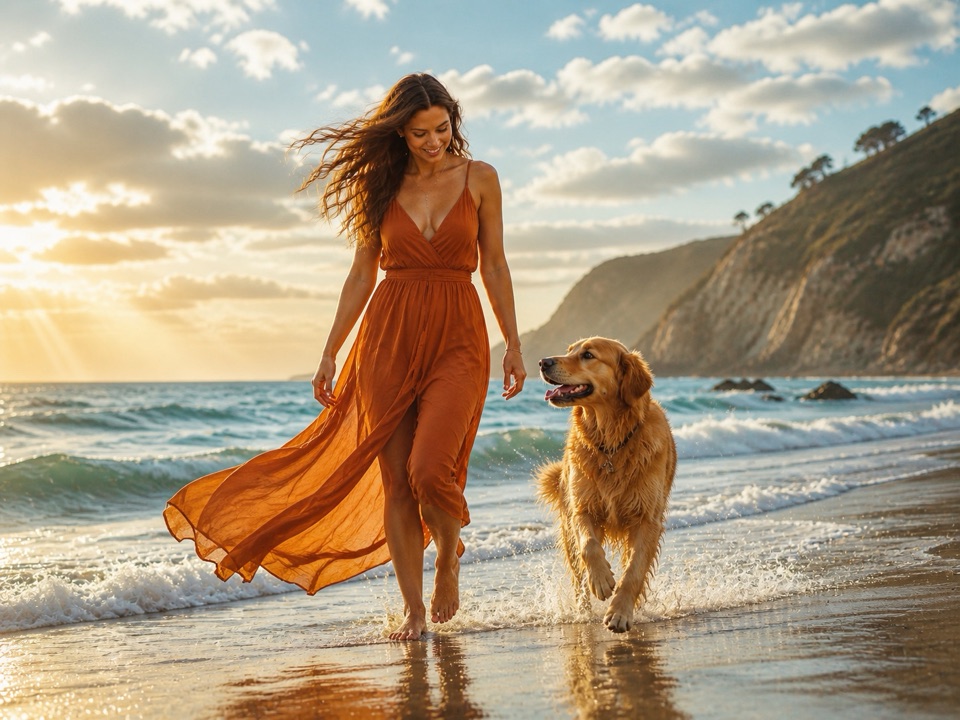
Result 3
Select two or three models from the model picker. Shared settings keep the comparison consistent.
Every model receives the same prompt and reference images at the same time.
Compare the results side by side, then reference your favorite in the next message.
Start from text, uploads, or an earlier result. Reference the exact images you mean, compare models side by side, and keep refining without starting over.
Describe a new image from scratch, upload photos to edit, or combine both in one request. The reference bar always shows exactly how many images will be used.
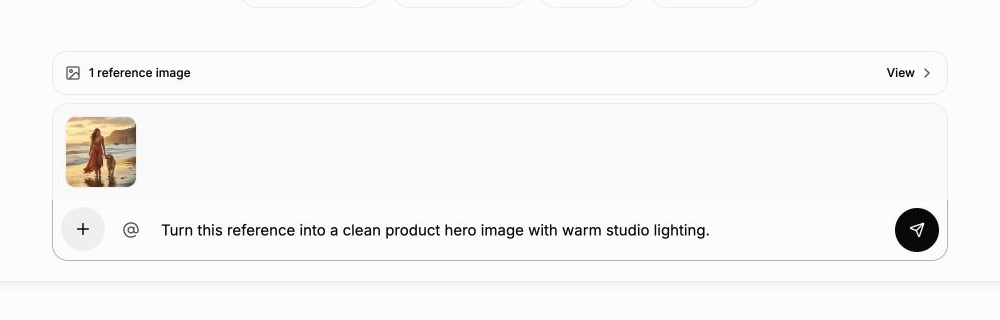
Open the @ picker from the composer and select any image from the current conversation. The image appears as a numbered mention, so requests such as “use Image 1 for the subject” stay unambiguous.
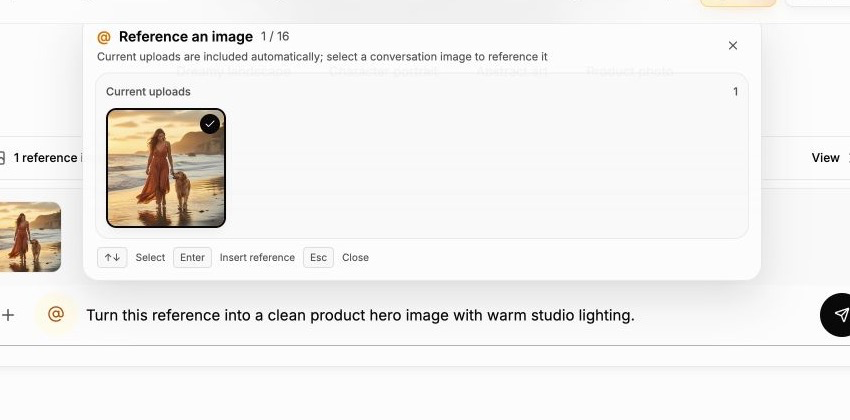
Choose two or three models and send one shared prompt, reference set, aspect ratio, and resolution. Results arrive independently, making it easy to compare style and prompt interpretation side by side.
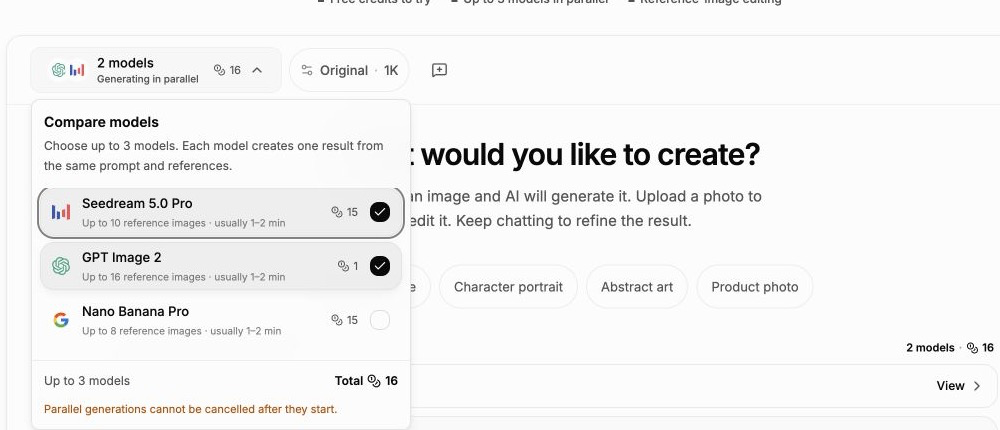
Click Continue editing or reference a result with @, then describe only the next change. You can switch between single-model and multi-model mode at any turn, while completed images remain available in your history.
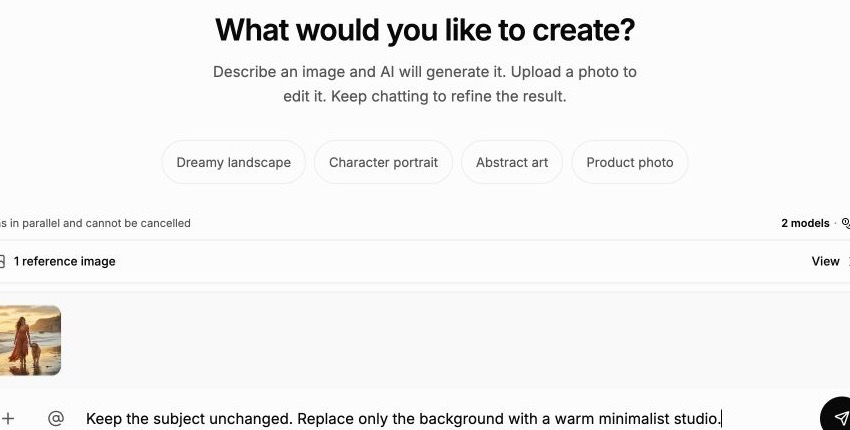
Three common scenarios where describing a change is faster than designing it.
Upload a product or portrait photo and ask for a new background in plain language. Great for e-commerce listings and social posts.
Try different lighting, props, or brand colors by chatting, not re-rendering. Pick the best variant in minutes.
Start from a selfie and refine across multiple turns — better lighting, cleaner background, new style — until it's exactly right.
Conversational image guide
A good result comes from more than a long prompt. The most reliable workflow separates the creative goal, the visual references, the model choice, and each follow-up change so you can see what improved from one turn to the next.
Start by describing the subject, setting, composition, lighting, and overall mood in ordinary language. A useful first message might identify who or what should appear, where the scene takes place, how the camera frames it, and what kind of finish you want. You do not need a rigid prompt formula, but concrete visual details give every model a stable direction. If text must appear in the picture, write the exact wording and say where it belongs.
Treat the first generation as a visual draft rather than a final answer. Ask for one coherent scene before piling on small corrections. Once you can see the composition, use shorter follow-up messages to adjust a color, remove an object, change a pose, or move the camera. This makes each decision easier to evaluate and avoids contradictory instructions hidden inside one oversized prompt.
Upload a photo when words alone cannot communicate an identity, product shape, layout, material, or style. Then explain what the model should preserve and what it may change. For example, keep the bottle geometry and logo placement, replace the background with a warm studio set, and soften the shadows. A reference is most effective when the instruction names the visual responsibility of that image instead of asking the model to copy everything.
You can combine a new upload with an earlier result from the conversation. Type @ to select the exact generated image and use the reference count above the composer to confirm what will be sent. When several images are attached, refer to their numbered mentions in the prompt. Clear roles such as subject, color palette, pose, or background reduce ambiguity and make later edits more predictable.
Different image models interpret the same request in different ways. One may follow typography closely, another may produce stronger photographic detail, and another may explore a more expressive composition. Select two or three models when you want to compare those interpretations without rebuilding the request. ImgPilot sends the same prompt, references, aspect ratio, and resolution to each selected model so the results remain useful as a side-by-side test.
Parallel generation is most valuable early in a project or after a major direction change. Compare subject accuracy, composition, text rendering, material detail, and whether the reference images were respected. Then choose the result with the strongest foundation, not simply the most polished surface. A solid composition is usually easier to refine than a beautiful image that misunderstood the subject.
After choosing a result, click Continue editing or reference it with @ and describe the next adjustment. Keep the instruction focused: make the rug red, add a person between the two cats, widen the crop, or turn the afternoon light into dusk. Smaller requests help preserve the details that already work and make it obvious whether the new generation followed your direction.
If an edit drifts too far, return to an earlier result in the conversation rather than trying to repair every unwanted change. The image history acts like a set of visual checkpoints. You can branch from any useful version, switch from one model to several, or narrow a comparison back to a single model. This keeps exploration flexible without forcing you to restart the entire project.
Set the aspect ratio before generation so the composition fits its destination. Square images work well for product tiles and profile graphics, portrait formats suit posters and vertical social posts, and wide formats leave room for banners or presentation headers. Higher resolution is useful for final delivery, but lower-cost drafts can be more efficient while you are still testing the subject, layout, or model.
Before downloading, inspect faces, hands, product edges, logos, small text, and repeated patterns at full size. Use one final follow-up message for any visible defect, then download or share the finished image. Completed results stay in the conversation, so you can revisit the project later, reuse a successful image as a reference, and create a related variation without reconstructing the original setup.
The AI Image Generator is the quickest route from one clear prompt to one result. Chat to Image is the fuller creative workspace for references, model comparisons, and precise follow-up edits.
Best when your idea is already clear and you want a polished first image with direct control over model, aspect ratio, and resolution.
Best when you want to create from text or references, compare several model interpretations, and keep improving one selected result.
Everything you need to know before your first chat.
Start with a prompt or reference image, compare models, and keep refining the result in one conversation.
Start creating by chat